

Phew! No spring fling this little winter project would be!
Also: I am happy to report that the ice on Lake Arthur has vanished. Instead, hundreds of Buffleheads and Mergansers are frolicking on the lake. A great opportunity to do some birding of early migrants, don't you think? This coming week does not look promising but I am keeping my fingers crossed for next weekend.

It did take me quite a while to figure out an elegant method of attaching the sail to the boom and yard.

 In response to my question, he suggested using the reefing knot where the two ends would be capped with a half-hitch thereby preventing the relatively loose knot to get undone. With an 1/8" line this obviously will work well, and look pretty tidy.
However, after messing around with the lug sail and spars in my basement for some time, I found that it was impossible to flake the sail nicely with both spars attached.


After cutting the pieces, I dipped the ends in Liquid Rope Whipping.

The result was a loop in the middle of the line which could be opened and closed by slipping the twine up and down like a quasi-zipper.

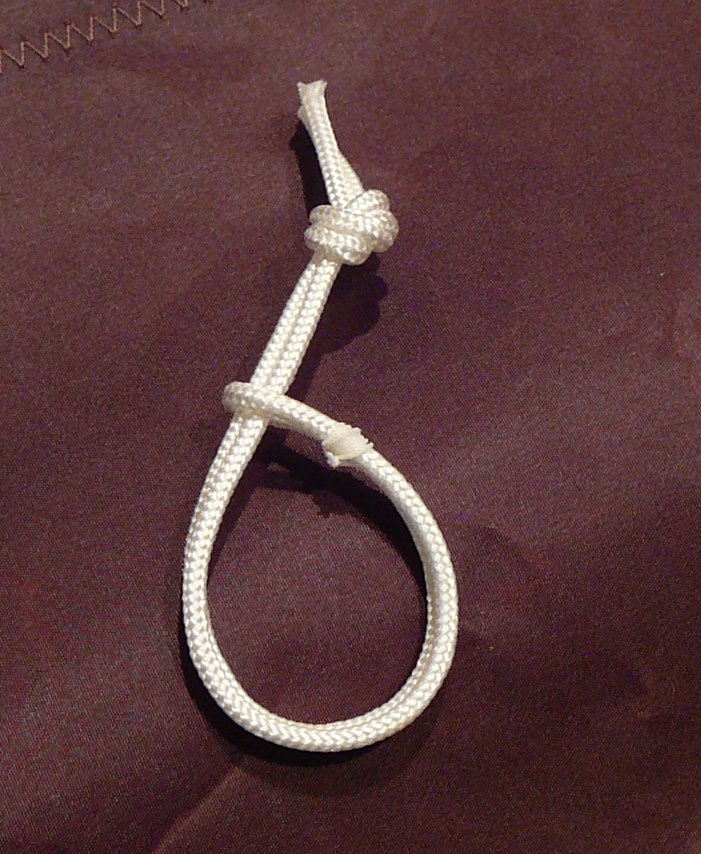
The Liquid Rope Whipping kept the two ends together quite nicely.

The resulting ring could now easily be opened and closed and slipped through the cringle in the sail and around the spar.
* * *
As it turns out, I really only need to open about five rings on the yard - after that, the yard simply slips out of the remaining cord rings.
In part I had complicated my task a bit since I stitched leather around the parts of boom and yard which intersect with the mast of this balanced lug rig. More on that and other lug rig specific items in a future blog.
* * *
 |
| Broad-reaching up my driveway - ready for some real action! |
Ready to launch!
Beautiful work! Thanks for sharing. You've inspired me to try to build one together this summer or next fall.
ReplyDelete